OK, now finally got most of the stuff done with Dad.
Tools needed:
-15mm wrench (front floor) and socket/ratchet (rear floor)
-Philips screwdriver
-T45 Torx bt
-13mm socket
-Hog ring pliers and clips
-End cutters (to cut old hog rings), or the "special" one to cut them
-Large flat blade screwdriver
-Various ways to clamp the frame as welding (vice grips/c-clamps/etc)
-MiG/Flux core welder and proper face gear
-Grinder of some sort to clean and prep
-Paint for finished work
First. unbolt the complete seat from the floor. You may have the plastic covers on the mounts to pop off to get to the bolts/nuts. You'll most likely have to use the wrench at the front mounts as there isn't much room. On the rear the socket will do you fine with a short extension for knuckle room.
Then you can remove the seat. If you have the power lumbar support, make sure to unplug the connection. Unscrew the recline/hinge cover screws and set in a safe place. The opposite side (along the trans tunnel) is a T45, and the bolts into the lower frame are 13mm. Unbolt the top from the bottom.
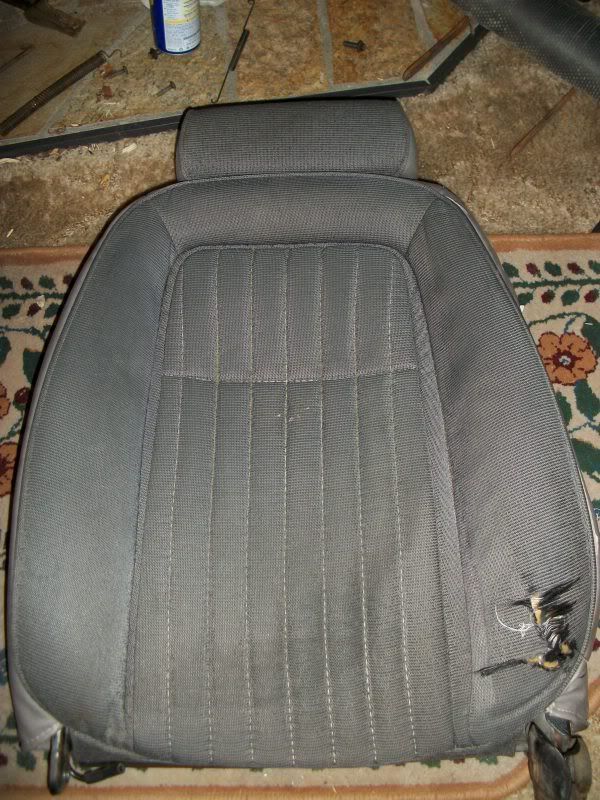
And you should have this, well maybe not a ratty looking, LOL. It was in better shape before the frame really took a dump... ALOT better than the stock seat I threw in the dumpster.

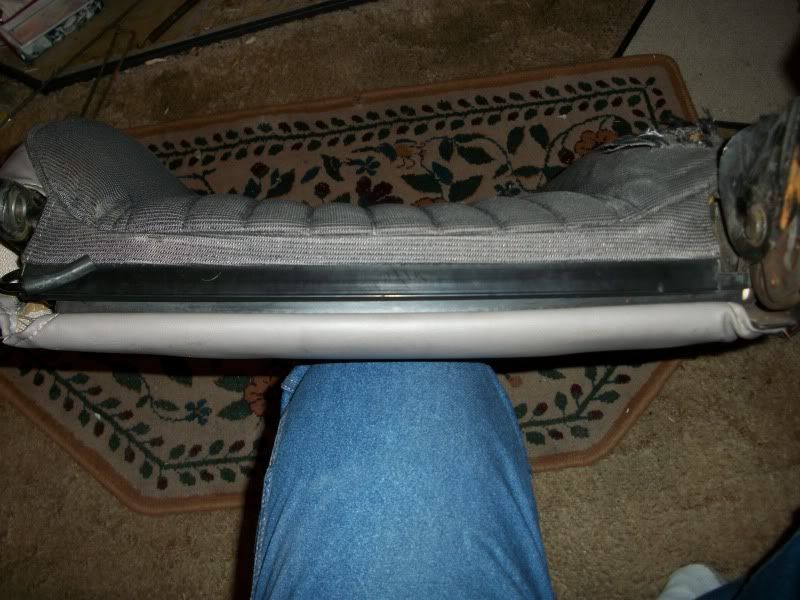
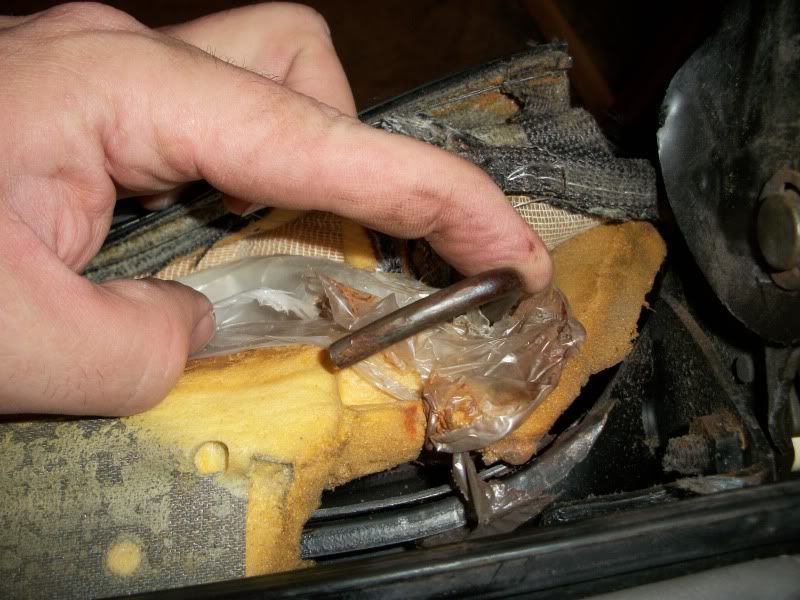
Then flip it upside down and unclip the ziplock plastic, some seats may still have a zipper. Esp. on older Foxes

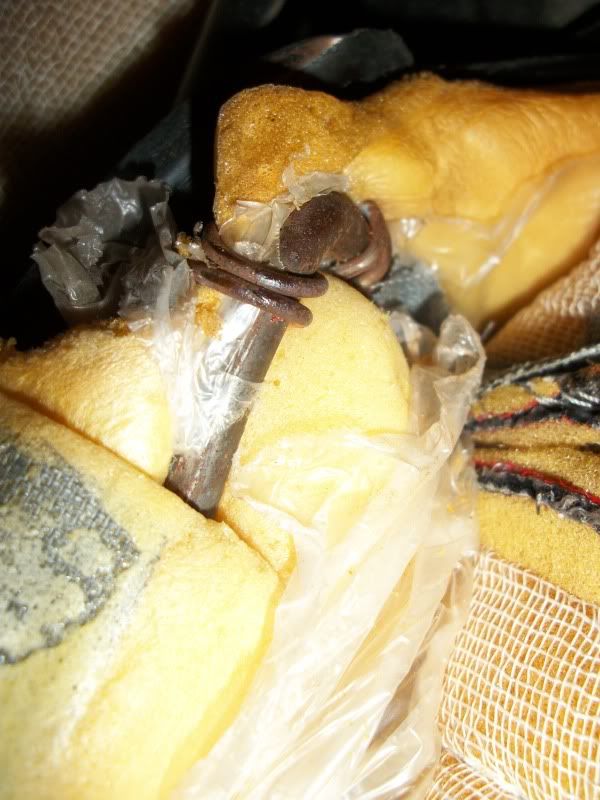
Then along the bottom you'll have these vertical rods held in by hog rings on each side. Clip the rings and pull the rods straight out. Be careful not to tear the sleeve they fit into in the cover while doing this. Over the years the fabric may have gotten a bit dry... Aso the rust you see if from my sunroof leaking. Where I used to live the incline prevented it from draining into the drains properly during severe storms... That will be another "how to" here. As I need to wait for a nice warm day to paint the frame around the glass a bit and to let the seals get nice and warm and soft in the sun...


